Step 1: Welcome and Overview (0:00)
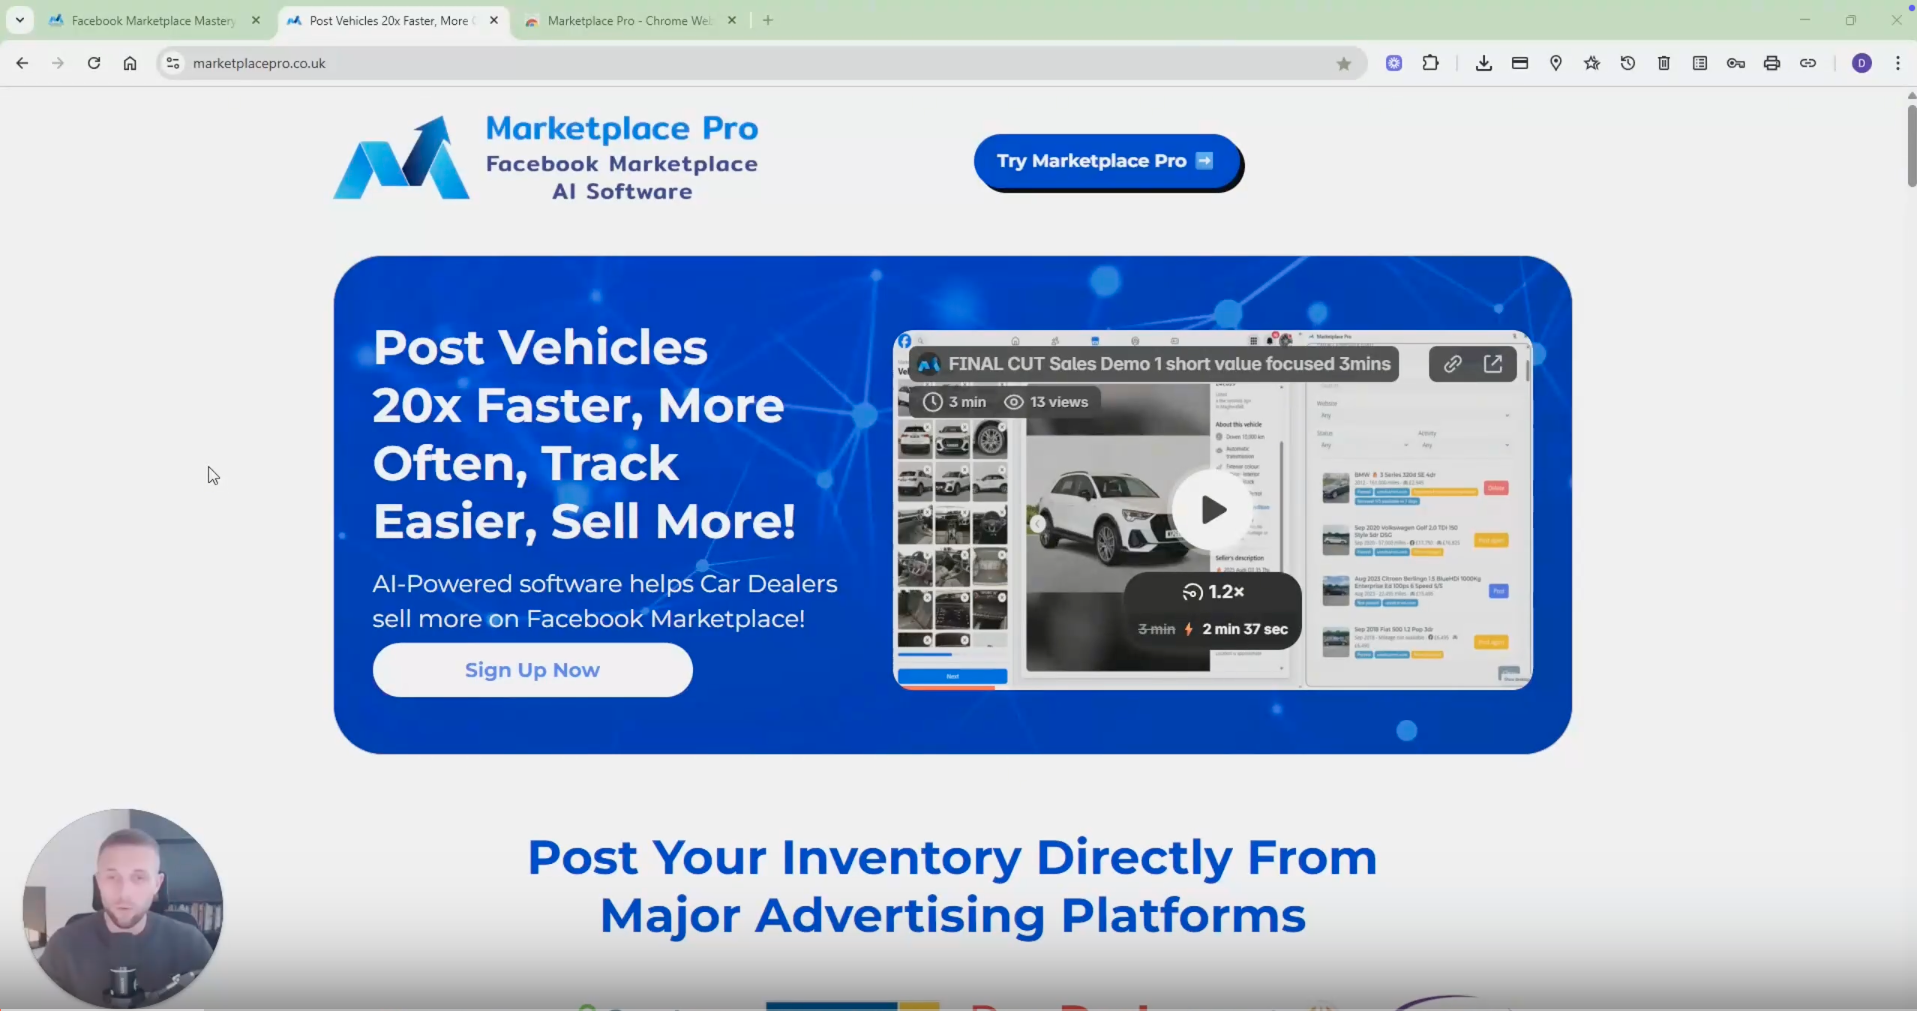
Introduction to Marketplace Pro.
Purpose: Show how to install the tool and post your first vehicle.
Step 2: Sign Up and Welcome Email (0:08)
After signing up, check your welcome email.
Email contains:
Login details for the extension.
Link to Google Chrome Store or Microsoft Edge add-on store.
Step 3: Installing the Extension (0:23)
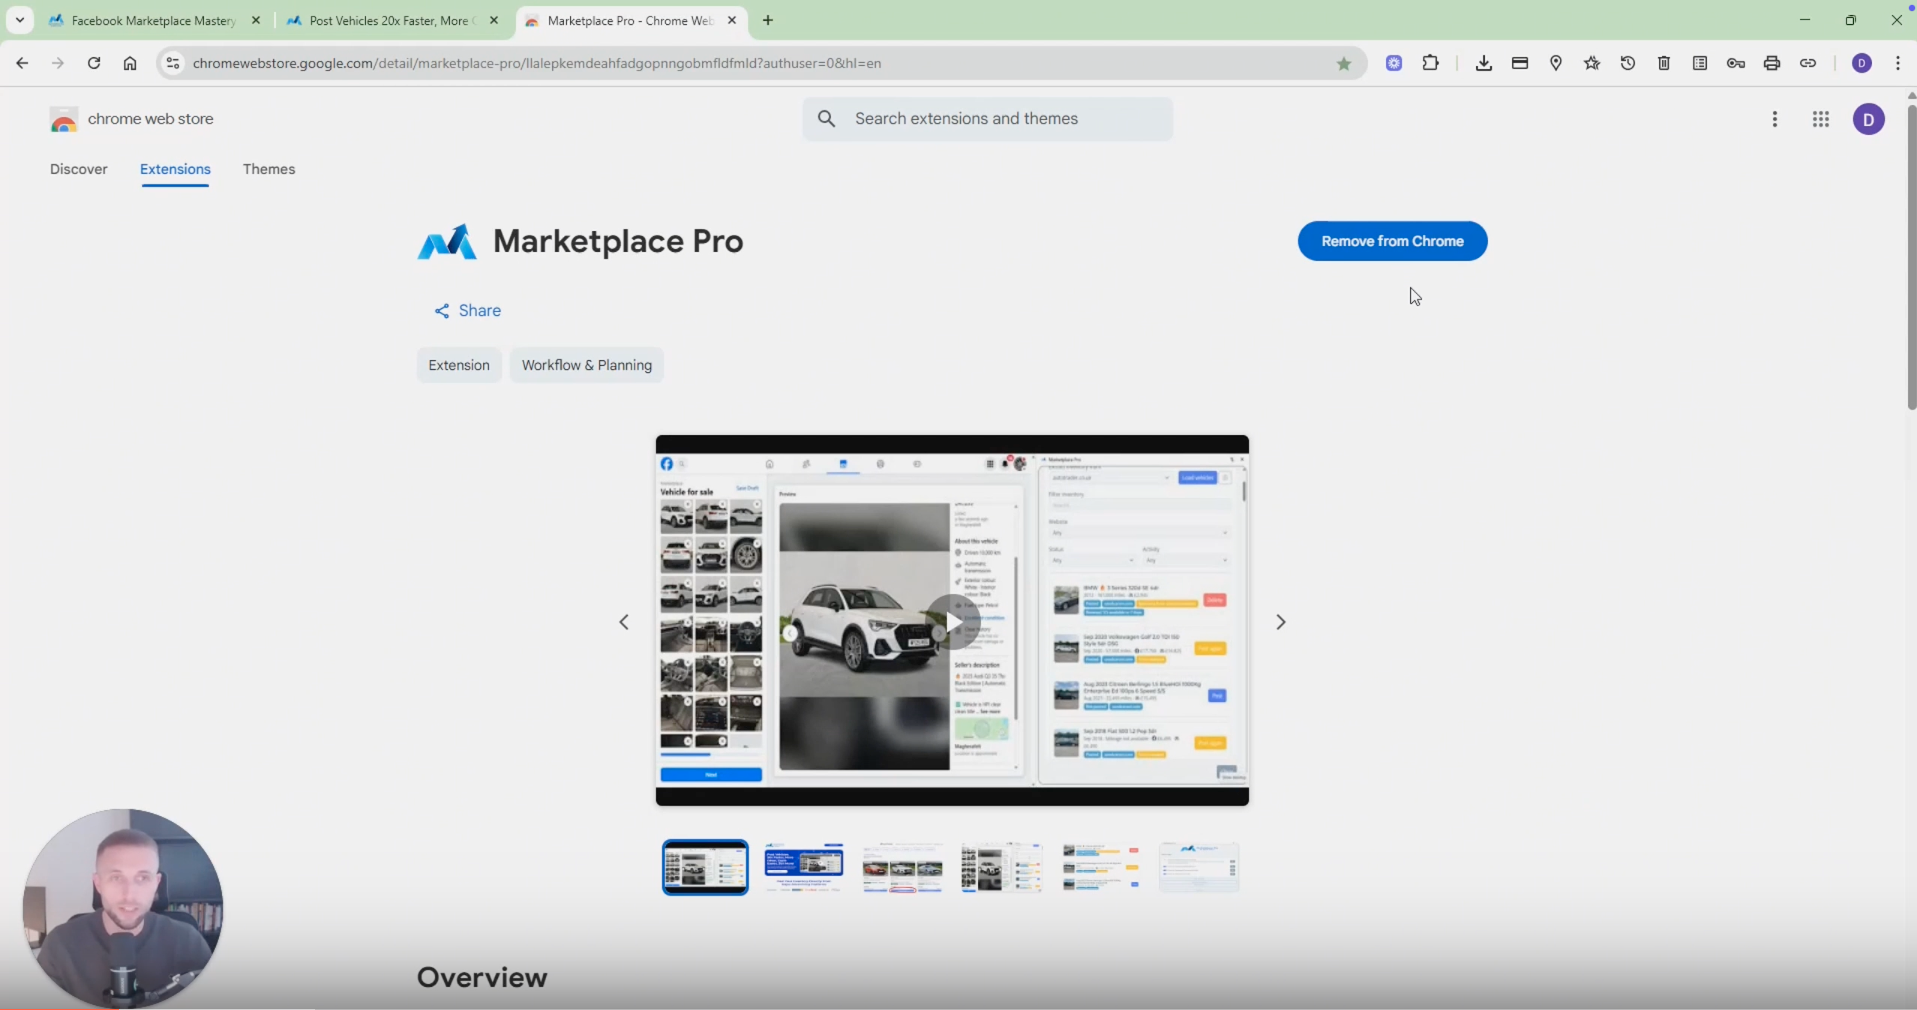
Click the link in your email to access the Chrome Web Store.
Select 'Add to Chrome' to install the extension.
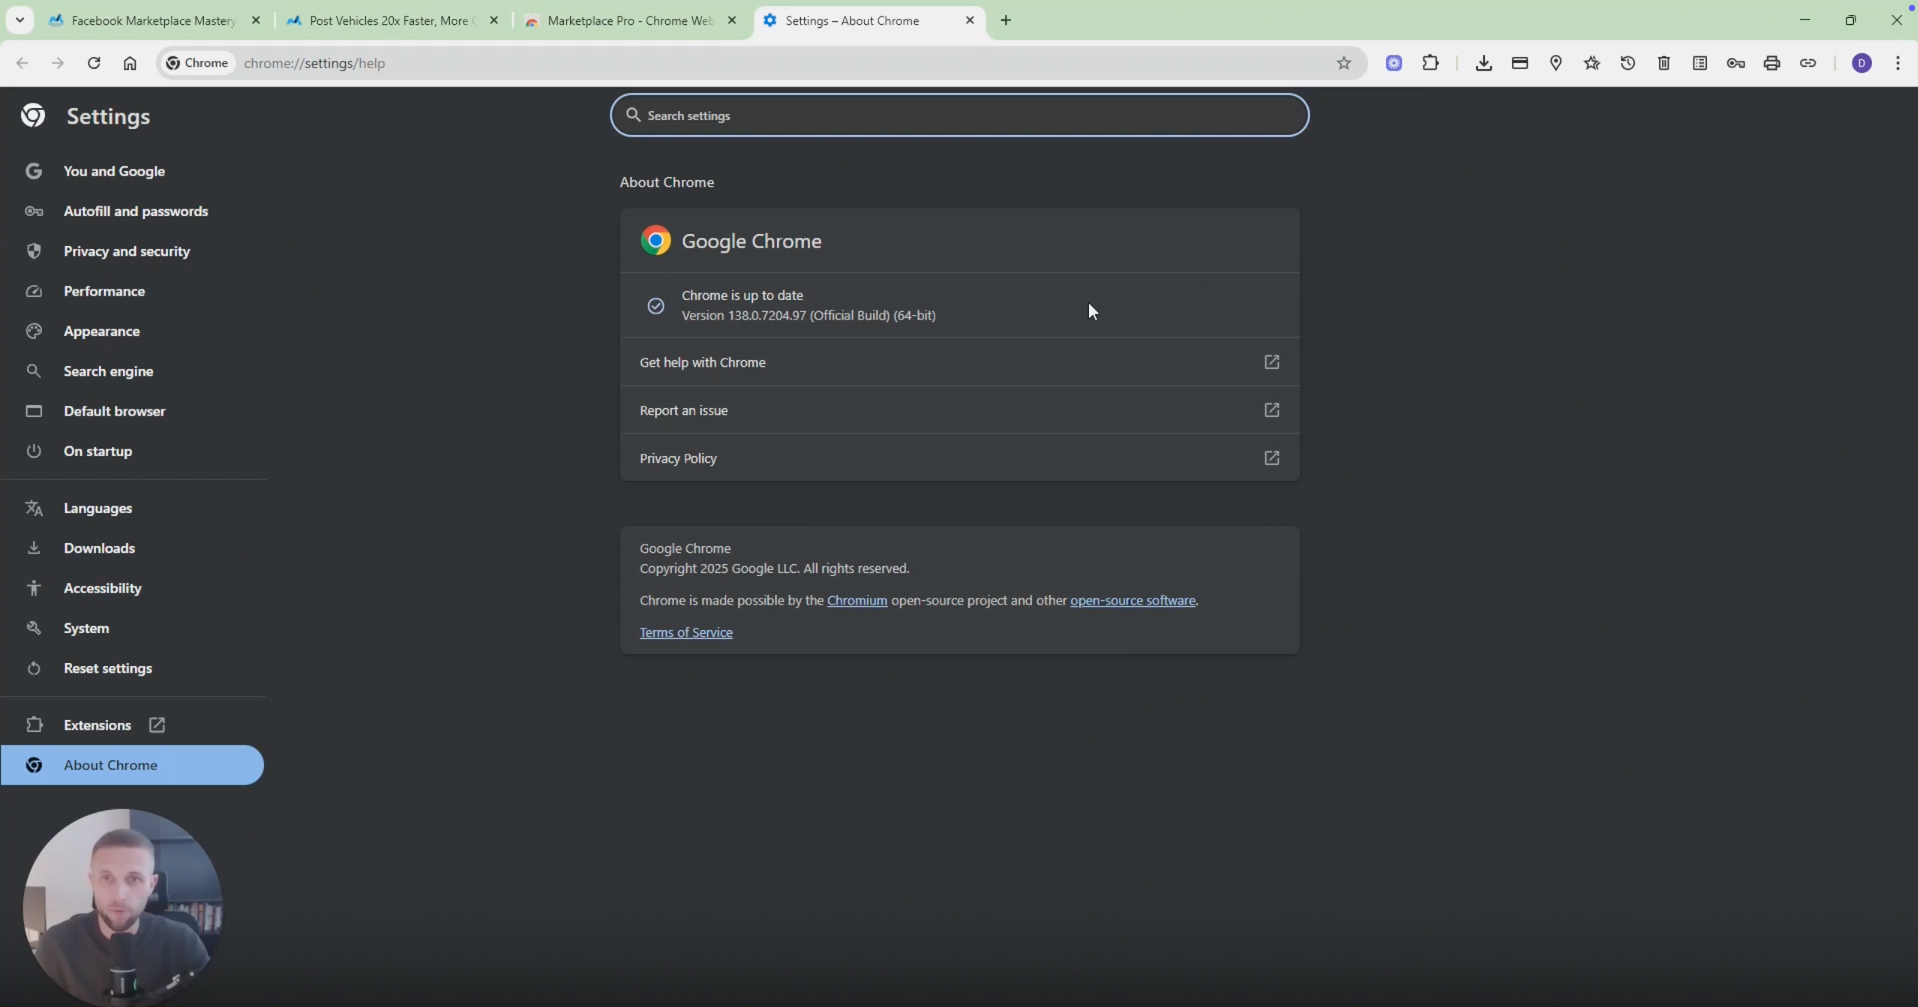
Step 4: Update Your Browser (0:39)
Ensure your browser is up to date:
Click the three dots in the top right corner.
Hover over 'Help' and select 'About Chrome' or 'About Microsoft Edge'.
Update if necessary to avoid errors.
Step 5: Pin the Extension (1:28)
 After installation, pin the Marketplace Pro extension to your toolbar for easy access.
Step 6: Logging In (1:41)
Open the extension and log in using your welcome email details.
You will be prompted to reset your password.
Step 7: Setting Up Your First Post (1:56)
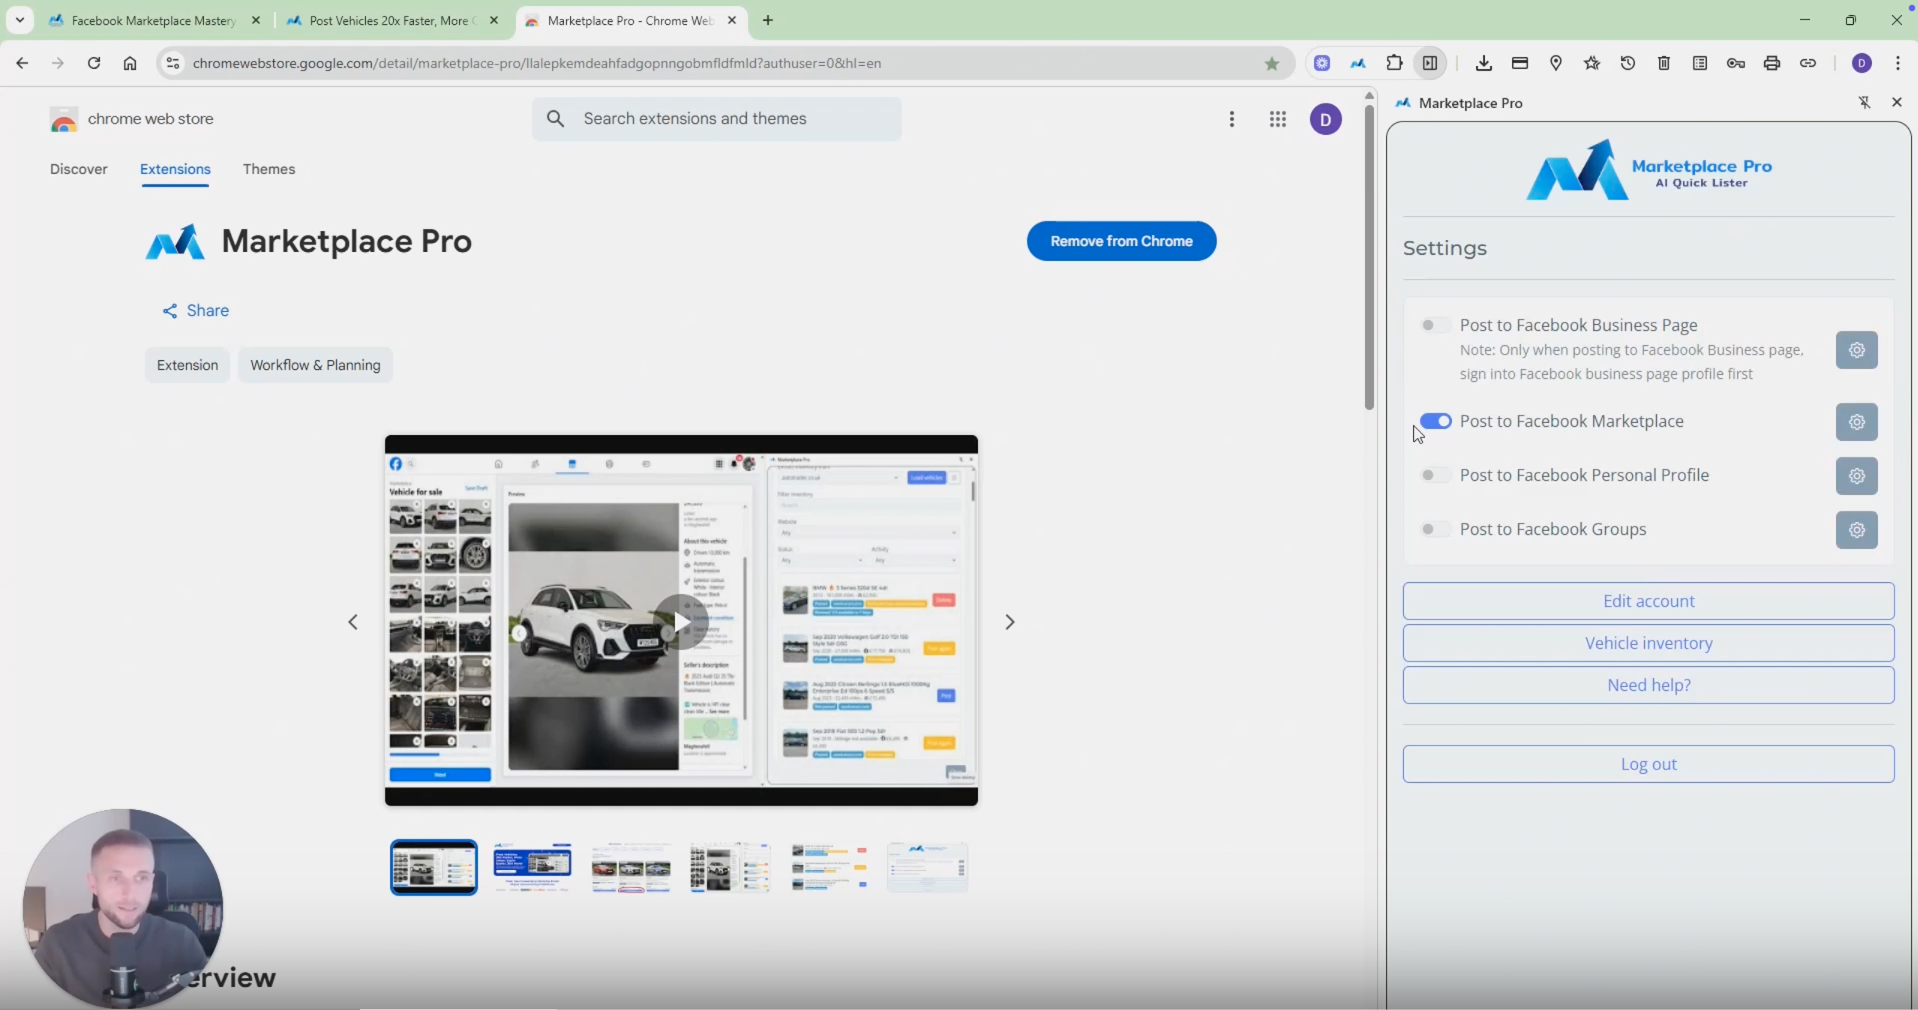
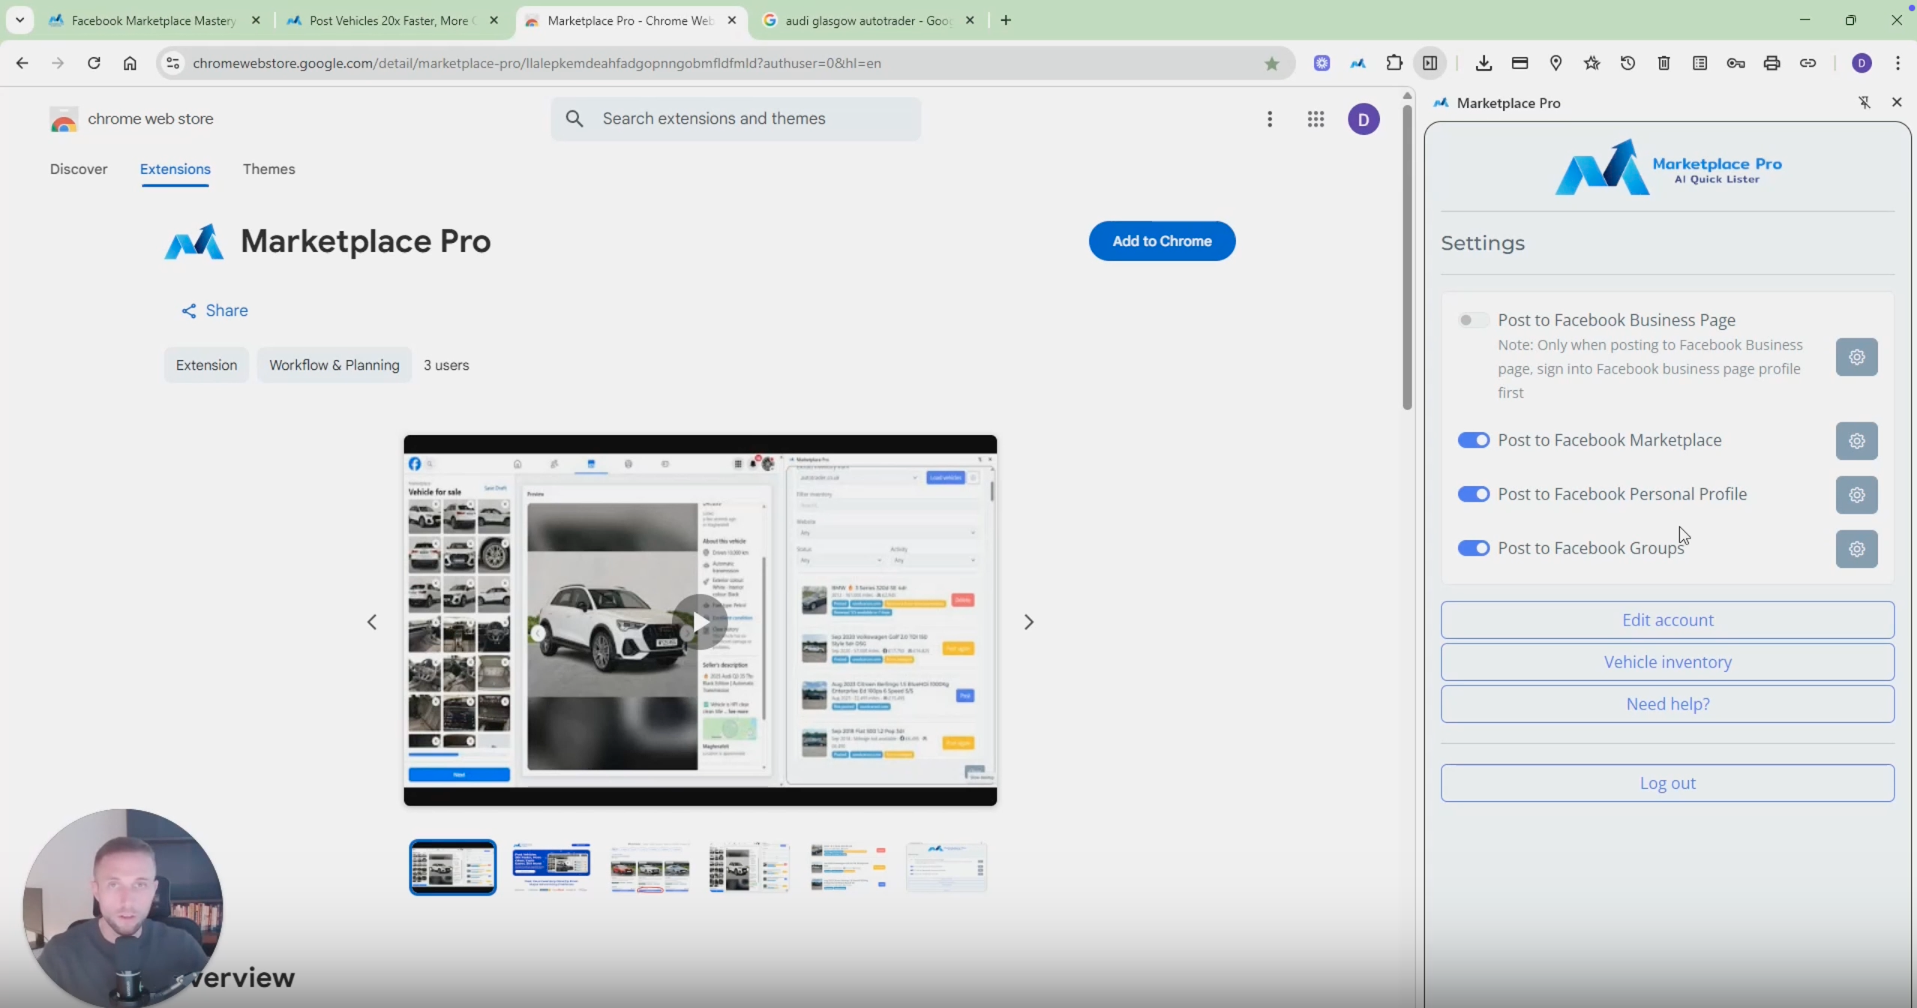
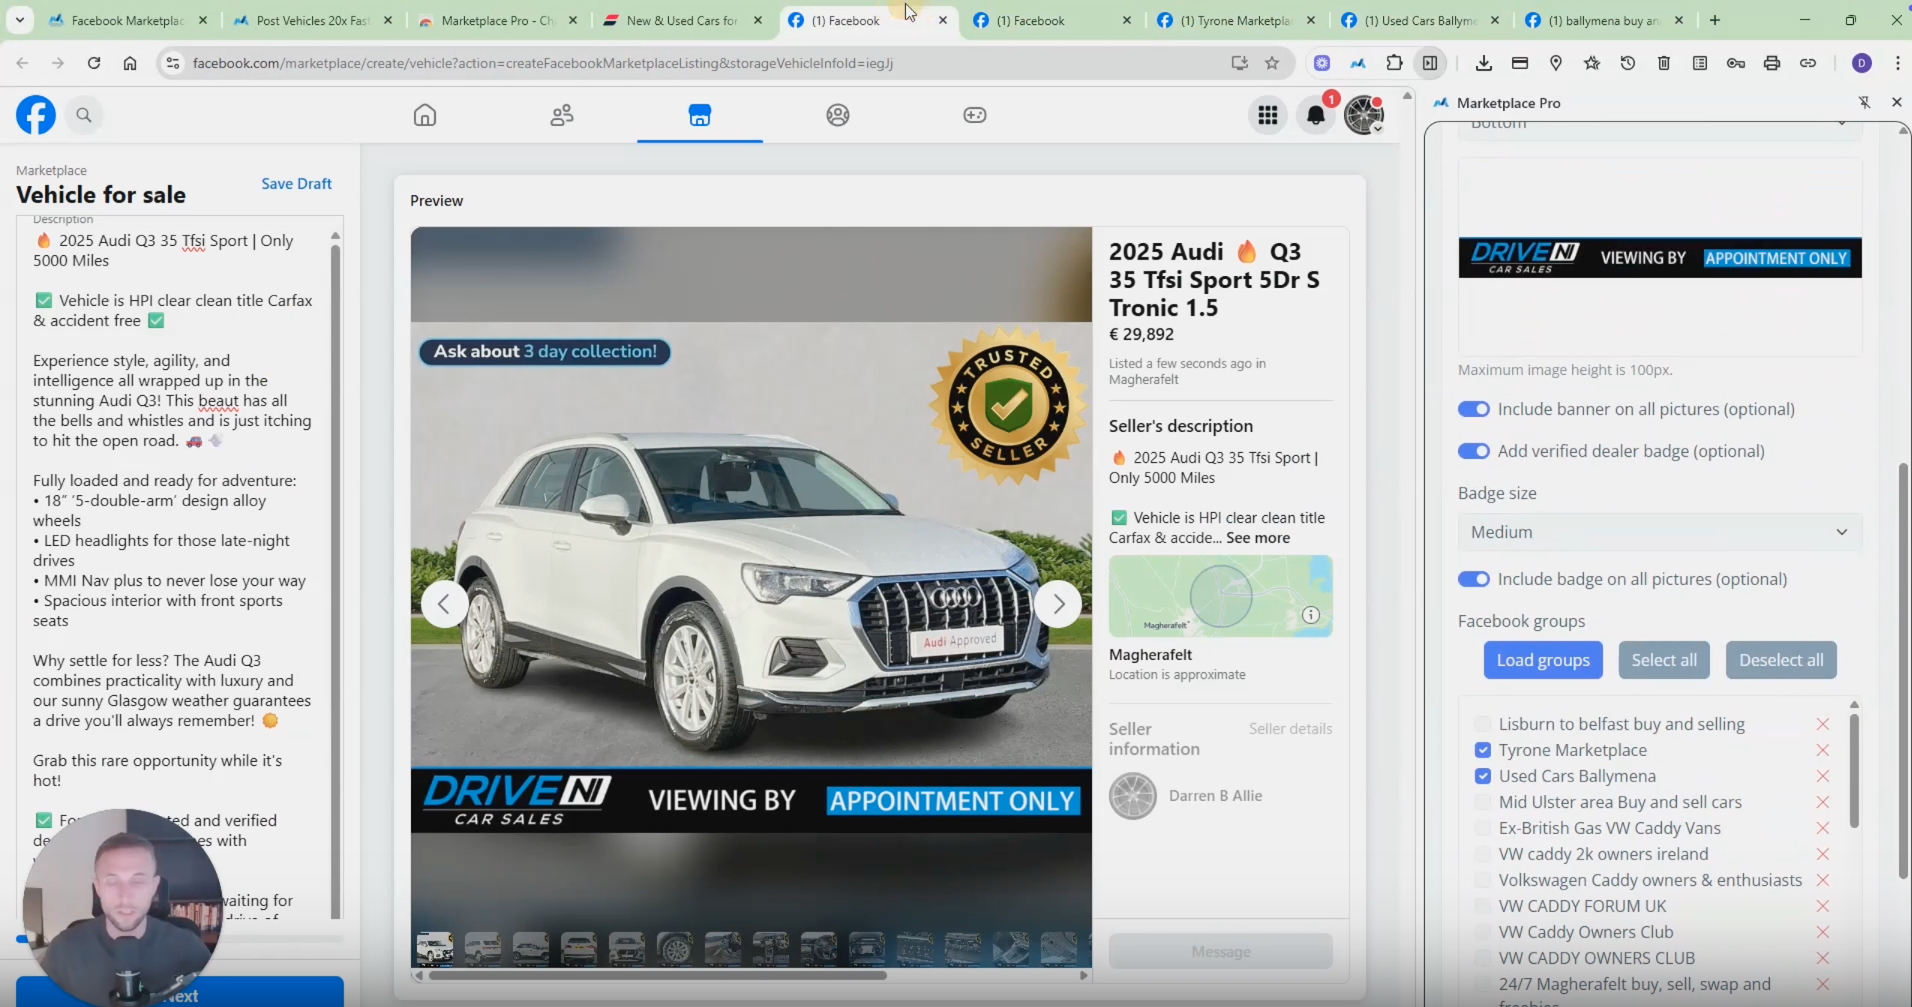
Choose to post to Facebook Marketplace.
Select category, title emoji, vehicle description, hashtags, and images.
Option to add a banner and dealer badge.
Step 8: Saving Settings for Future Use (2:43)
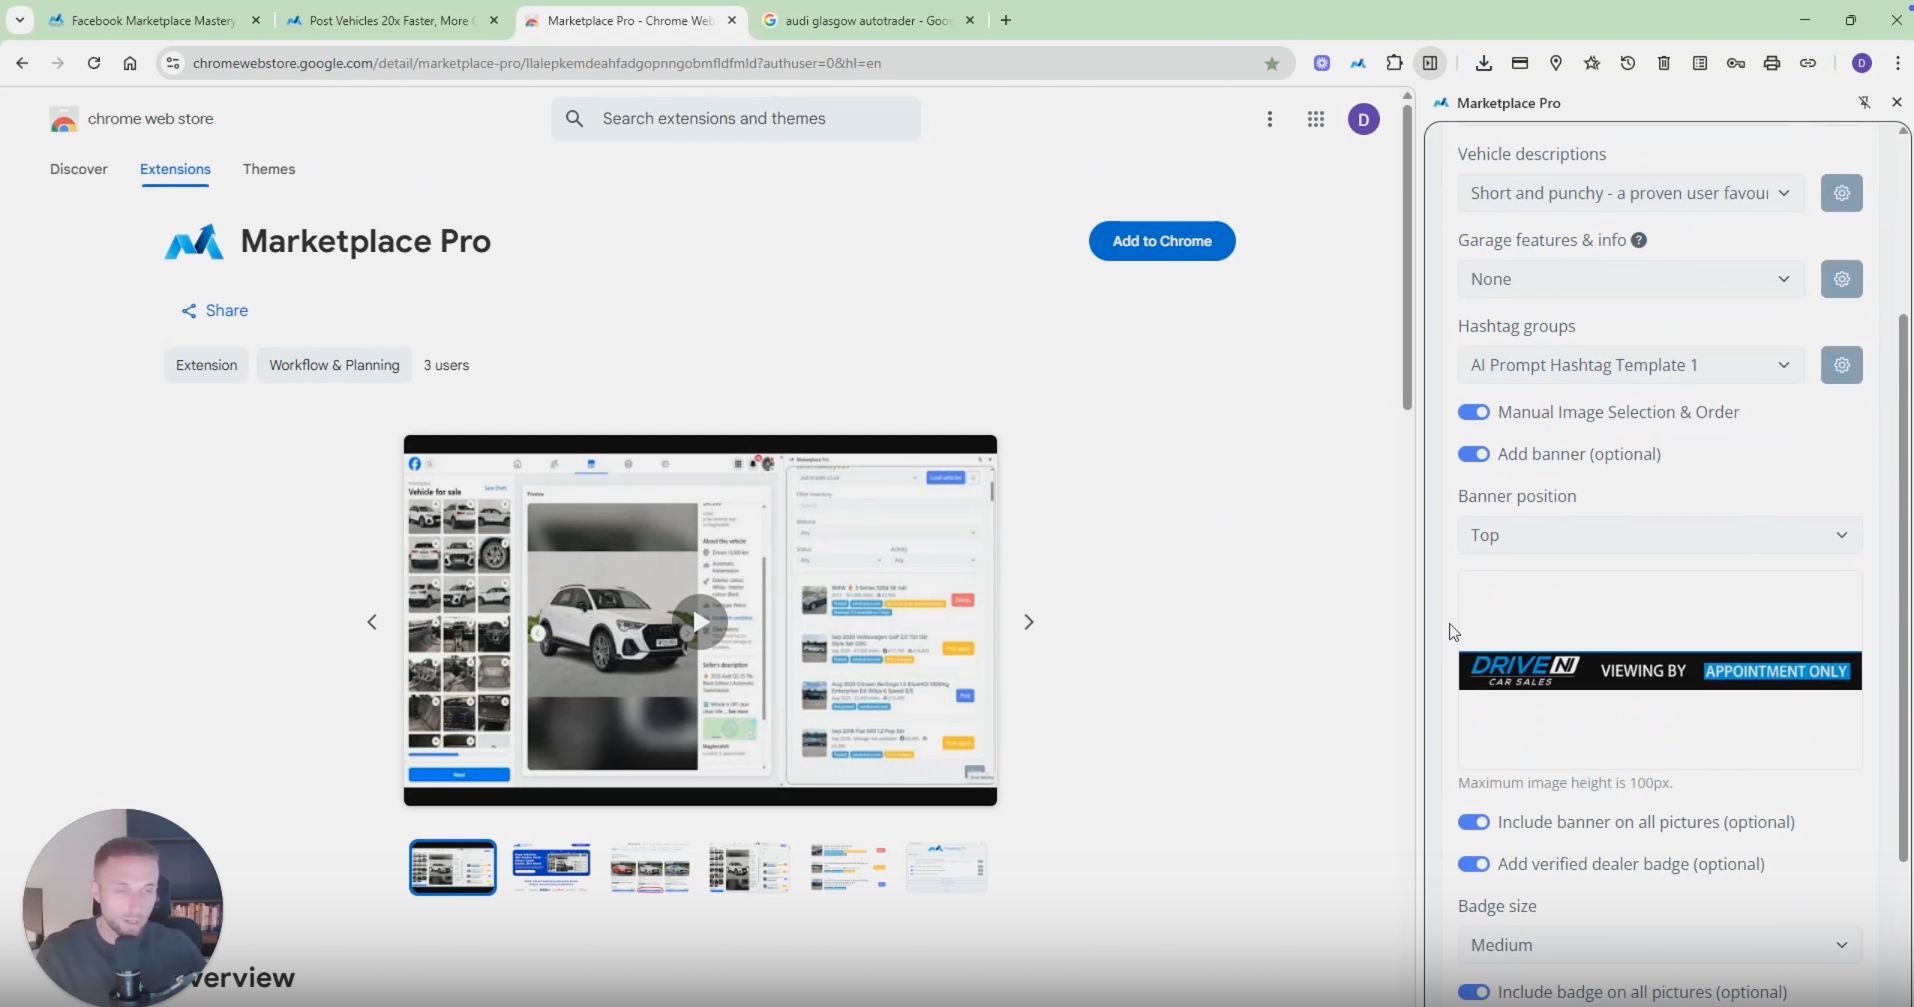
All settings can be preserved for future posts.
Step 9: Accessing the Marketplace Mastery Course
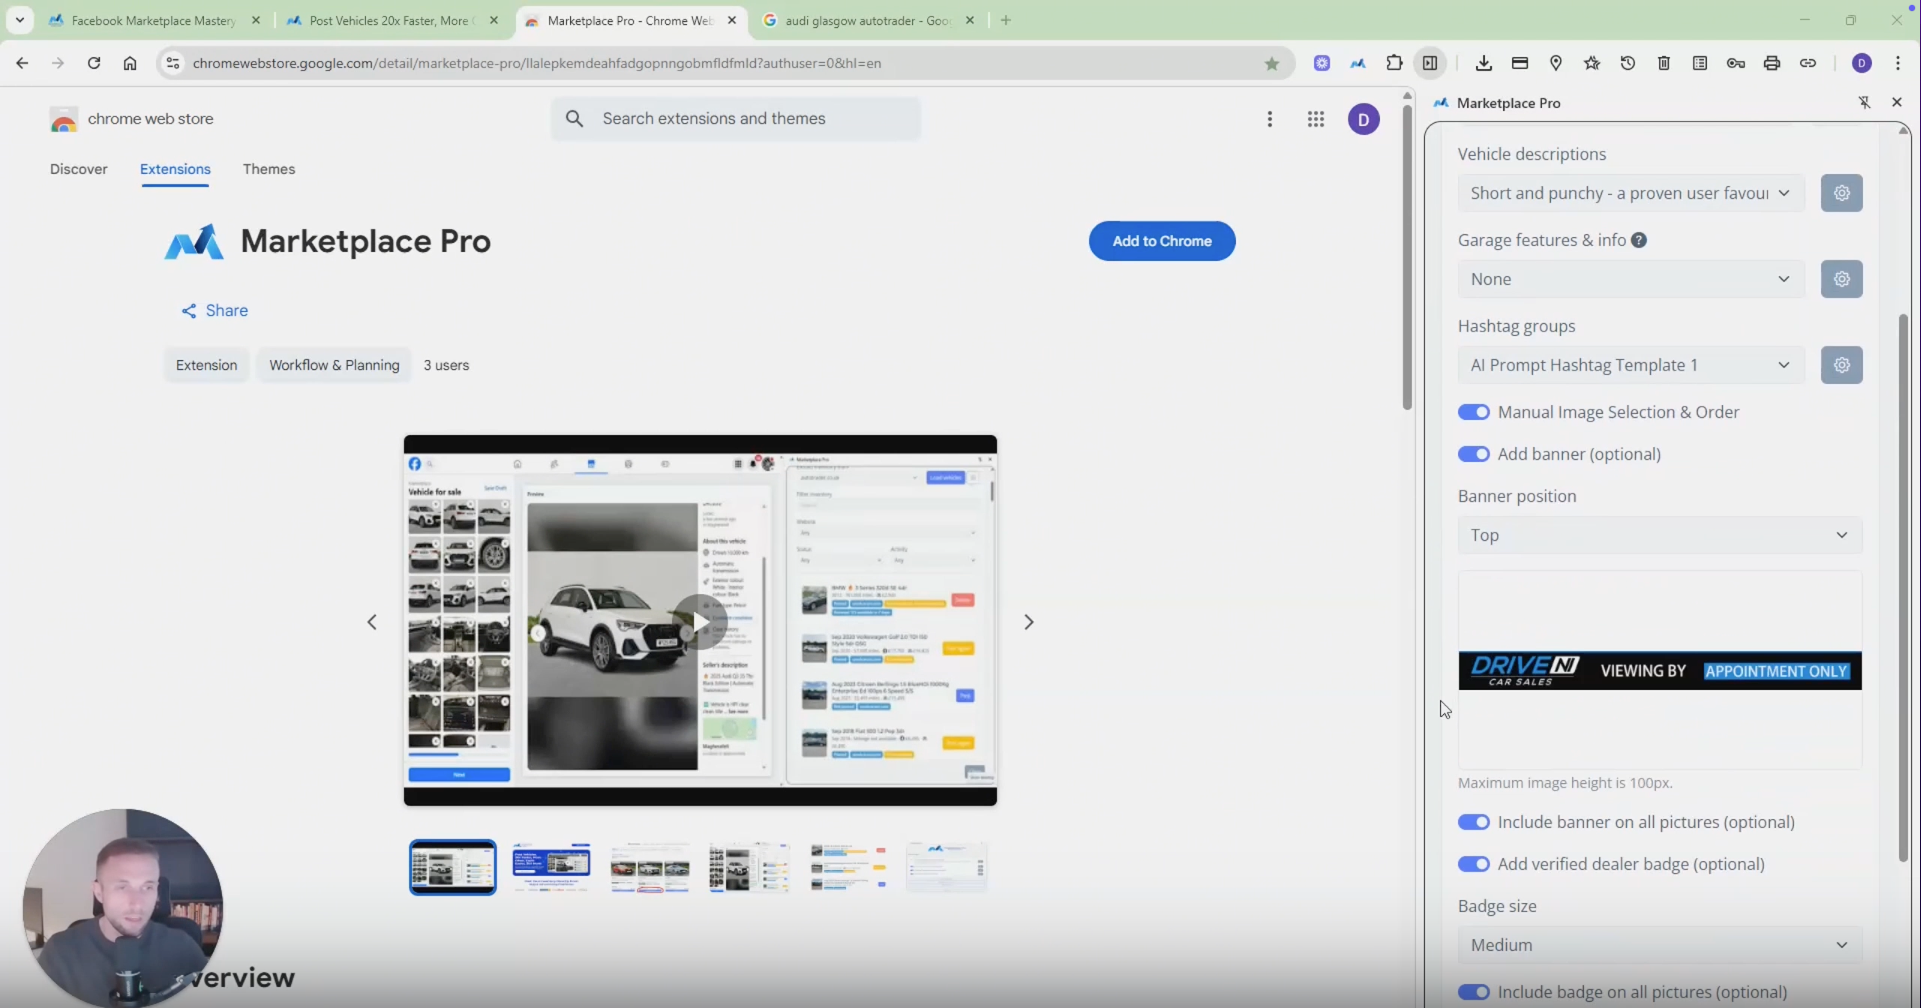
For detailed setup instructions, visit the Marketplace Mastery course linked in your email.
Step 10: Posting to Facebook Groups (3:07)
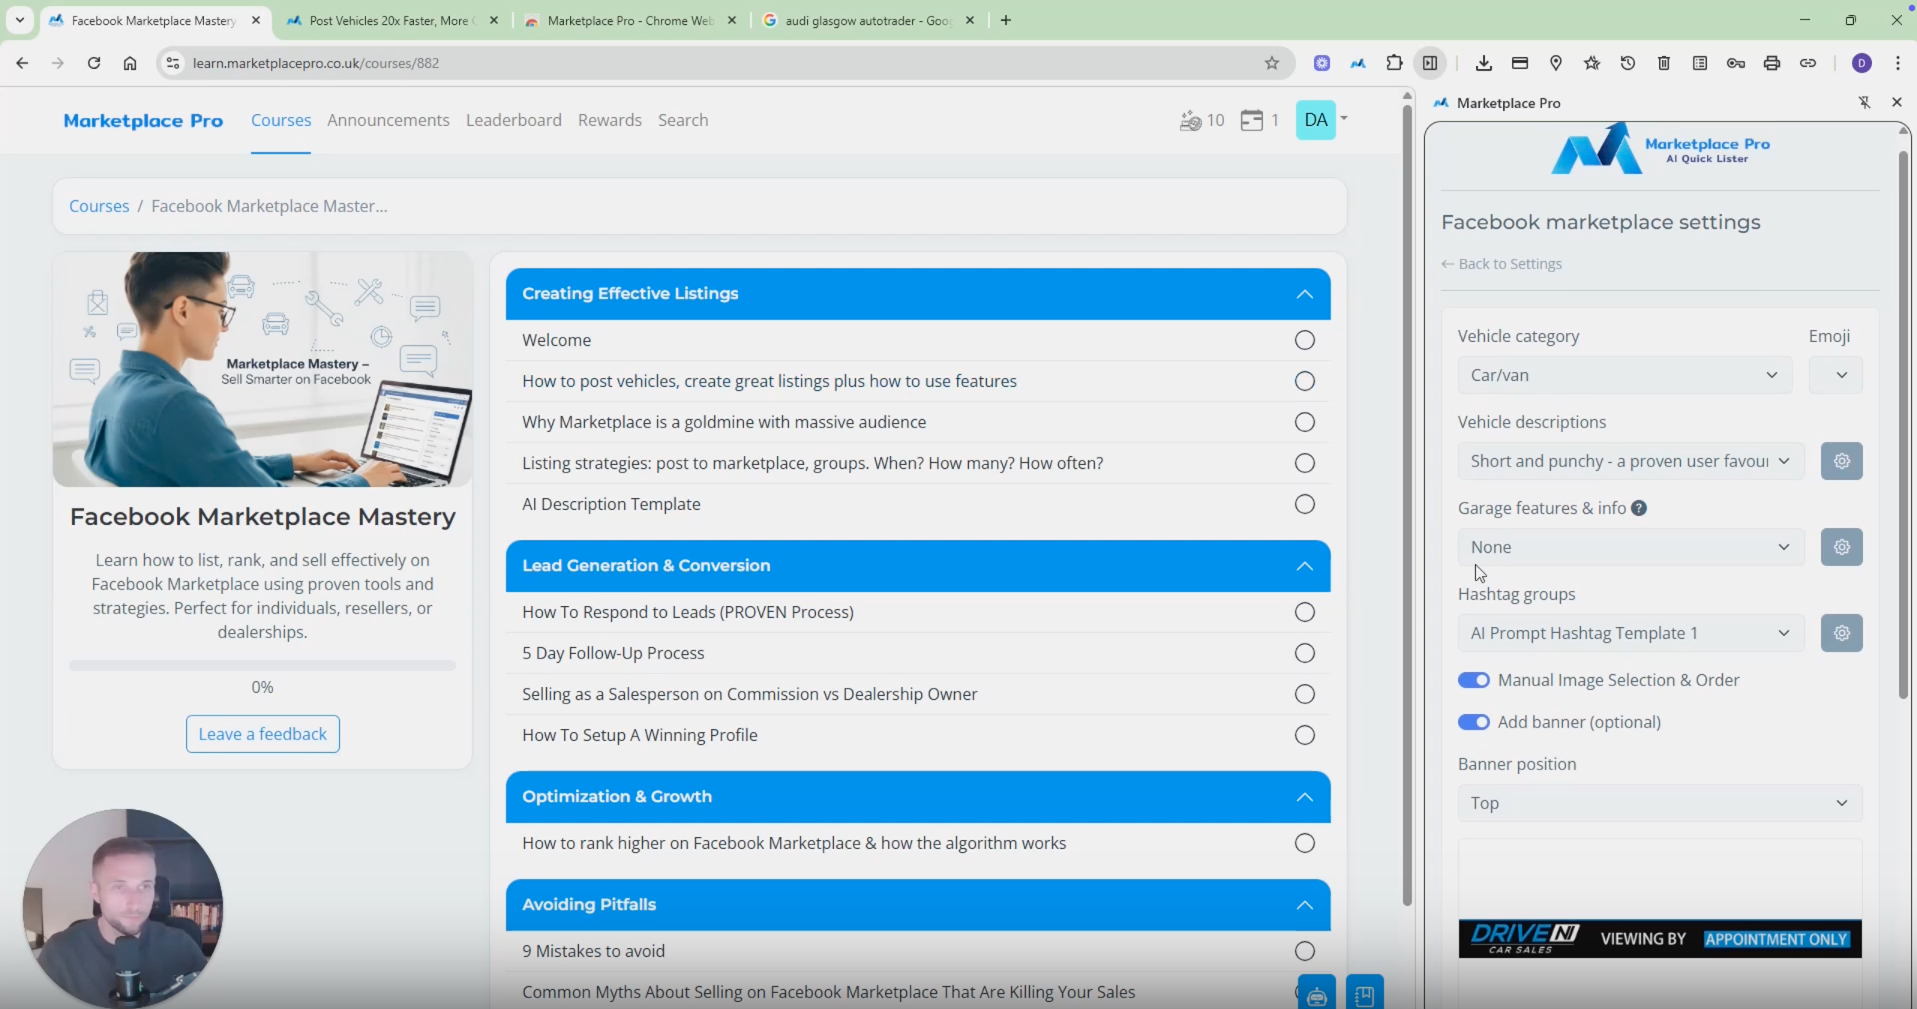
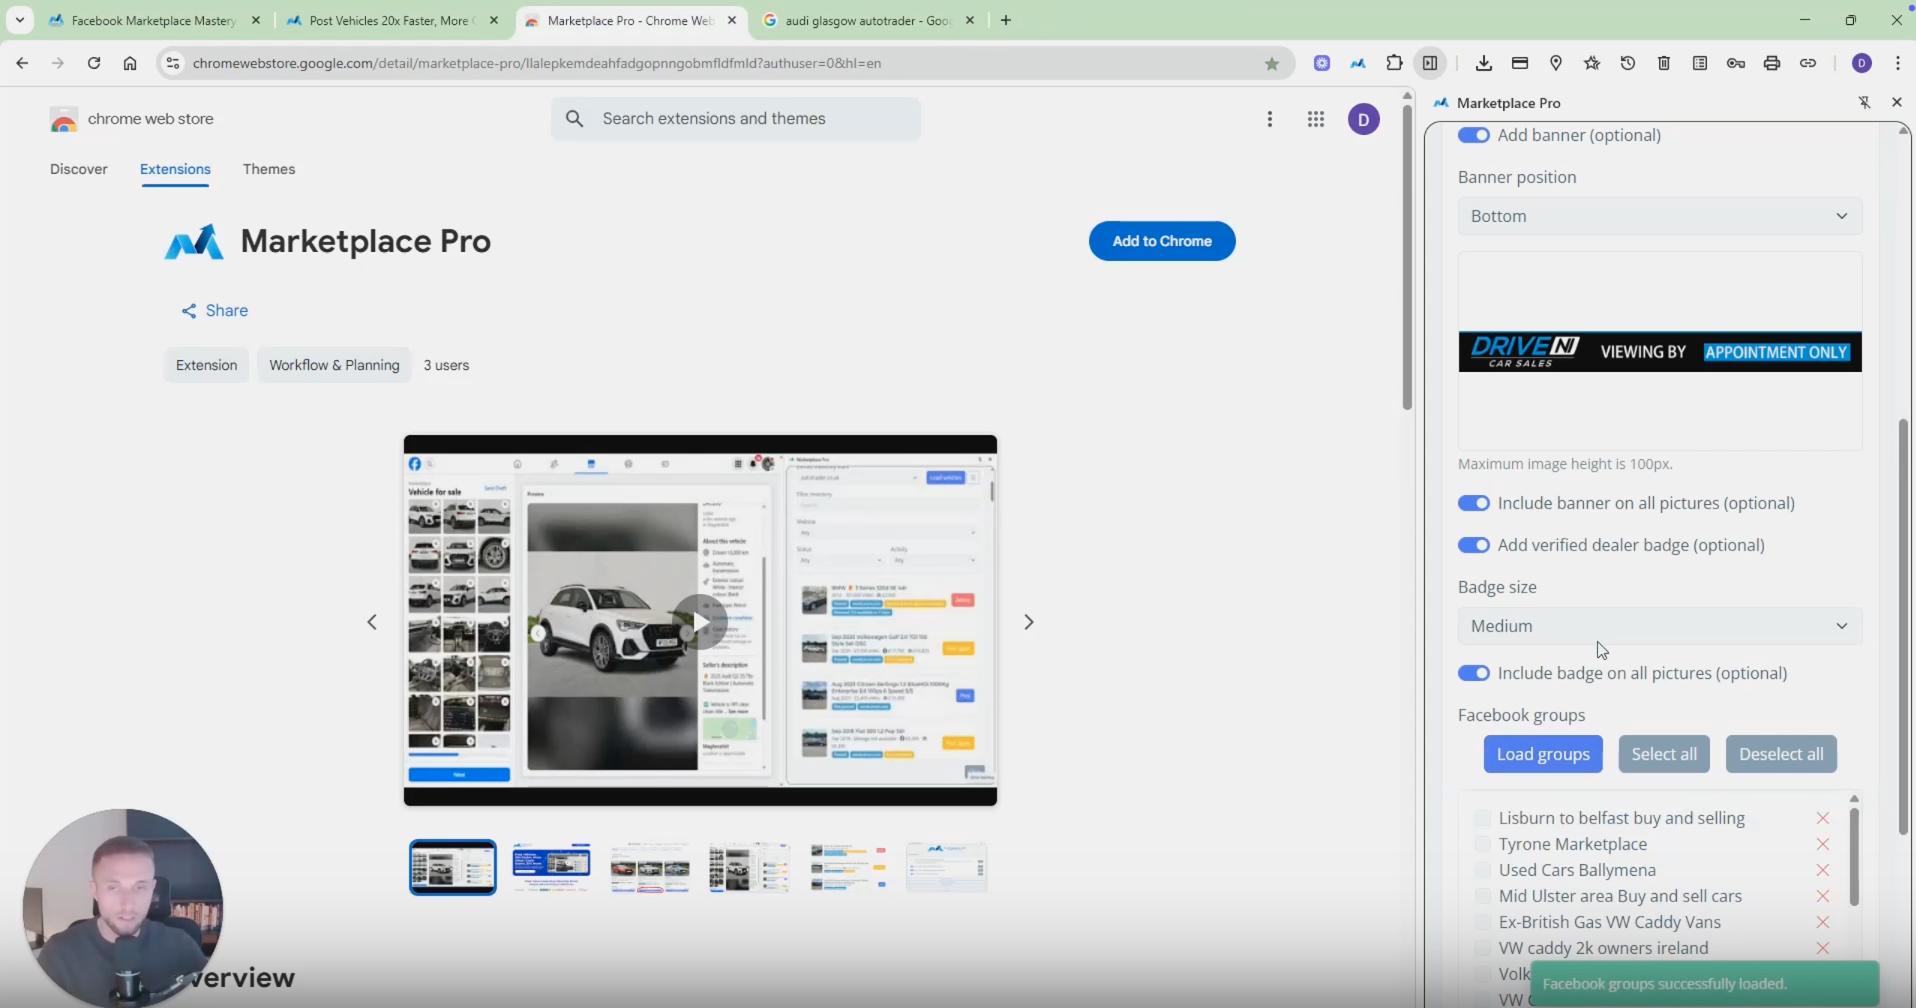
Set up posting to personal profiles and Facebook groups.
Load your groups from Facebook.
Step 11: Selecting Groups for Posting (3:42)
Search for your dealership's name and advertising platform on Google.
Copy and paste the URL of your vehicle inventory into the tool.
Step 12: Selecting Groups for Posting (4:20)
Search for your dealership's name and advertising platform on Google.
Copy and paste the URL of your vehicle inventory into the tool.
Step 13: Importing Vehicle Inventory (5:01)
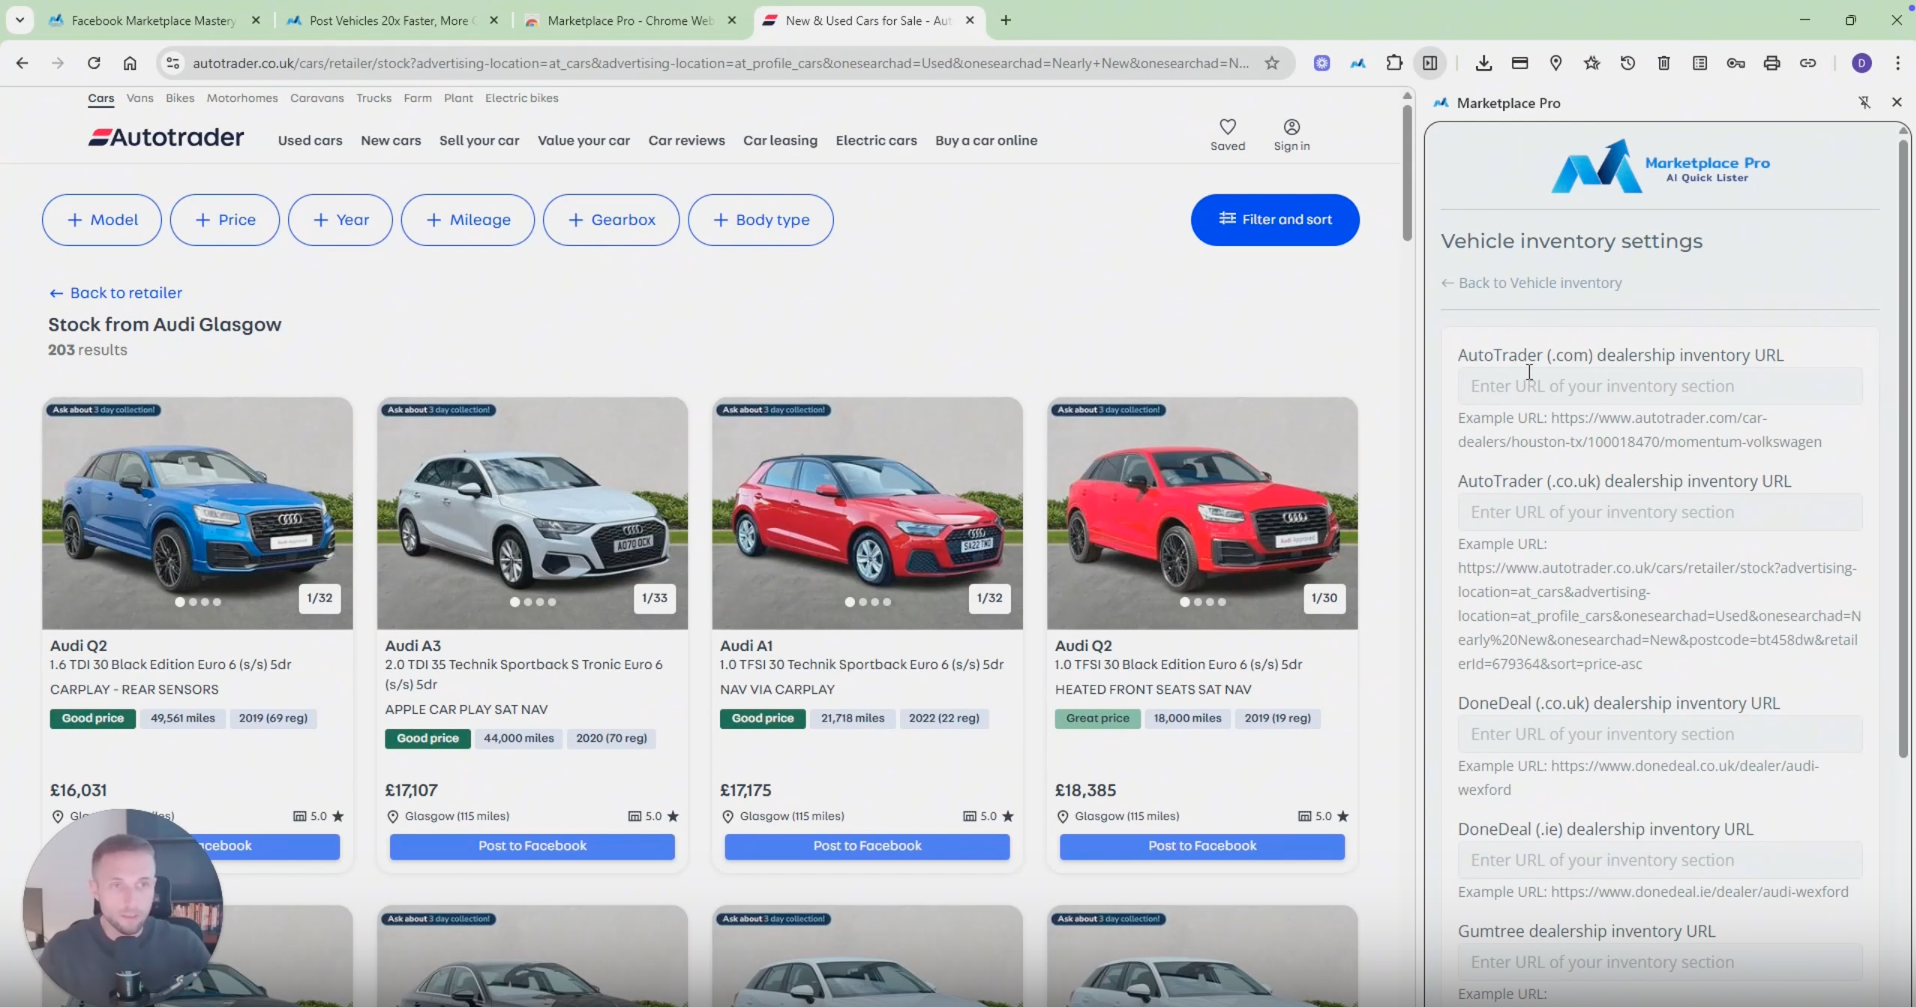
Enter the URL of your main advertising platform.
Select 'Load' to import your vehicle data.
Step 14: Posting Your First Vehicle (6:06)
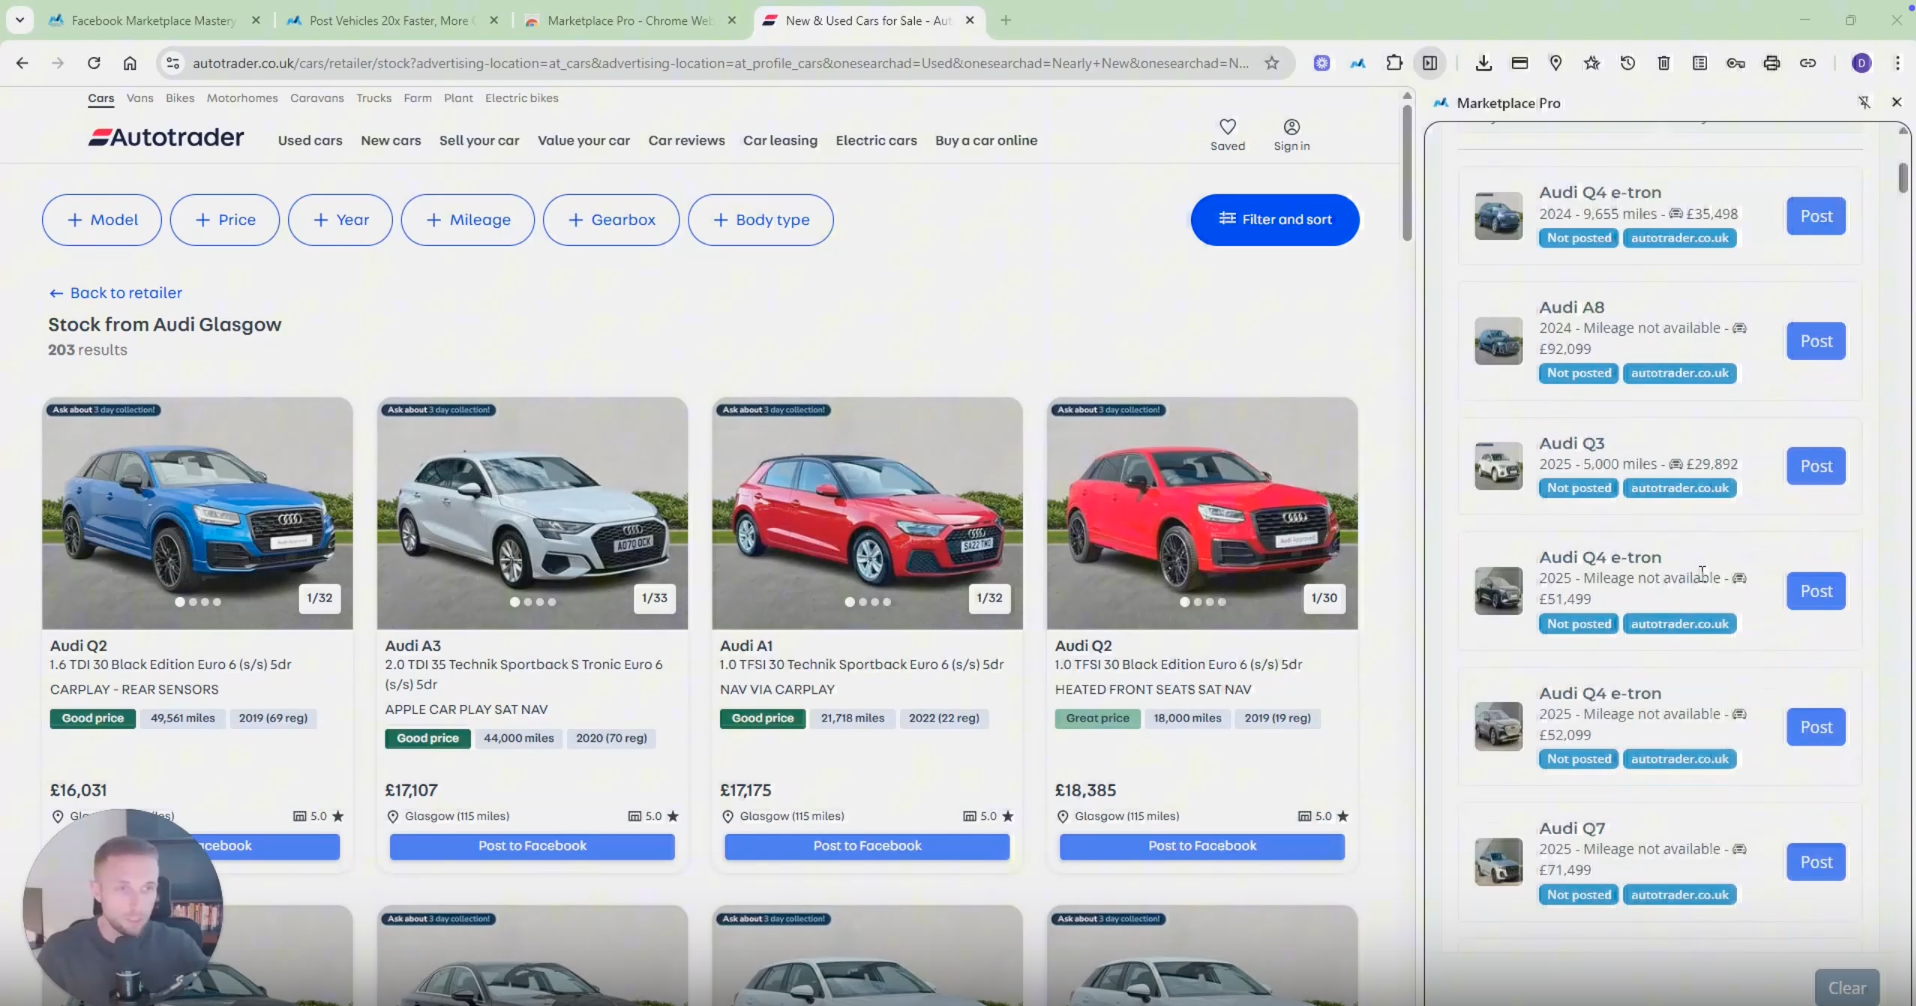
The tool opens tabs for each selected group.
Allow the tool to load before proceeding.
Step 15: Selecting Vehicle Pictures (6:19)
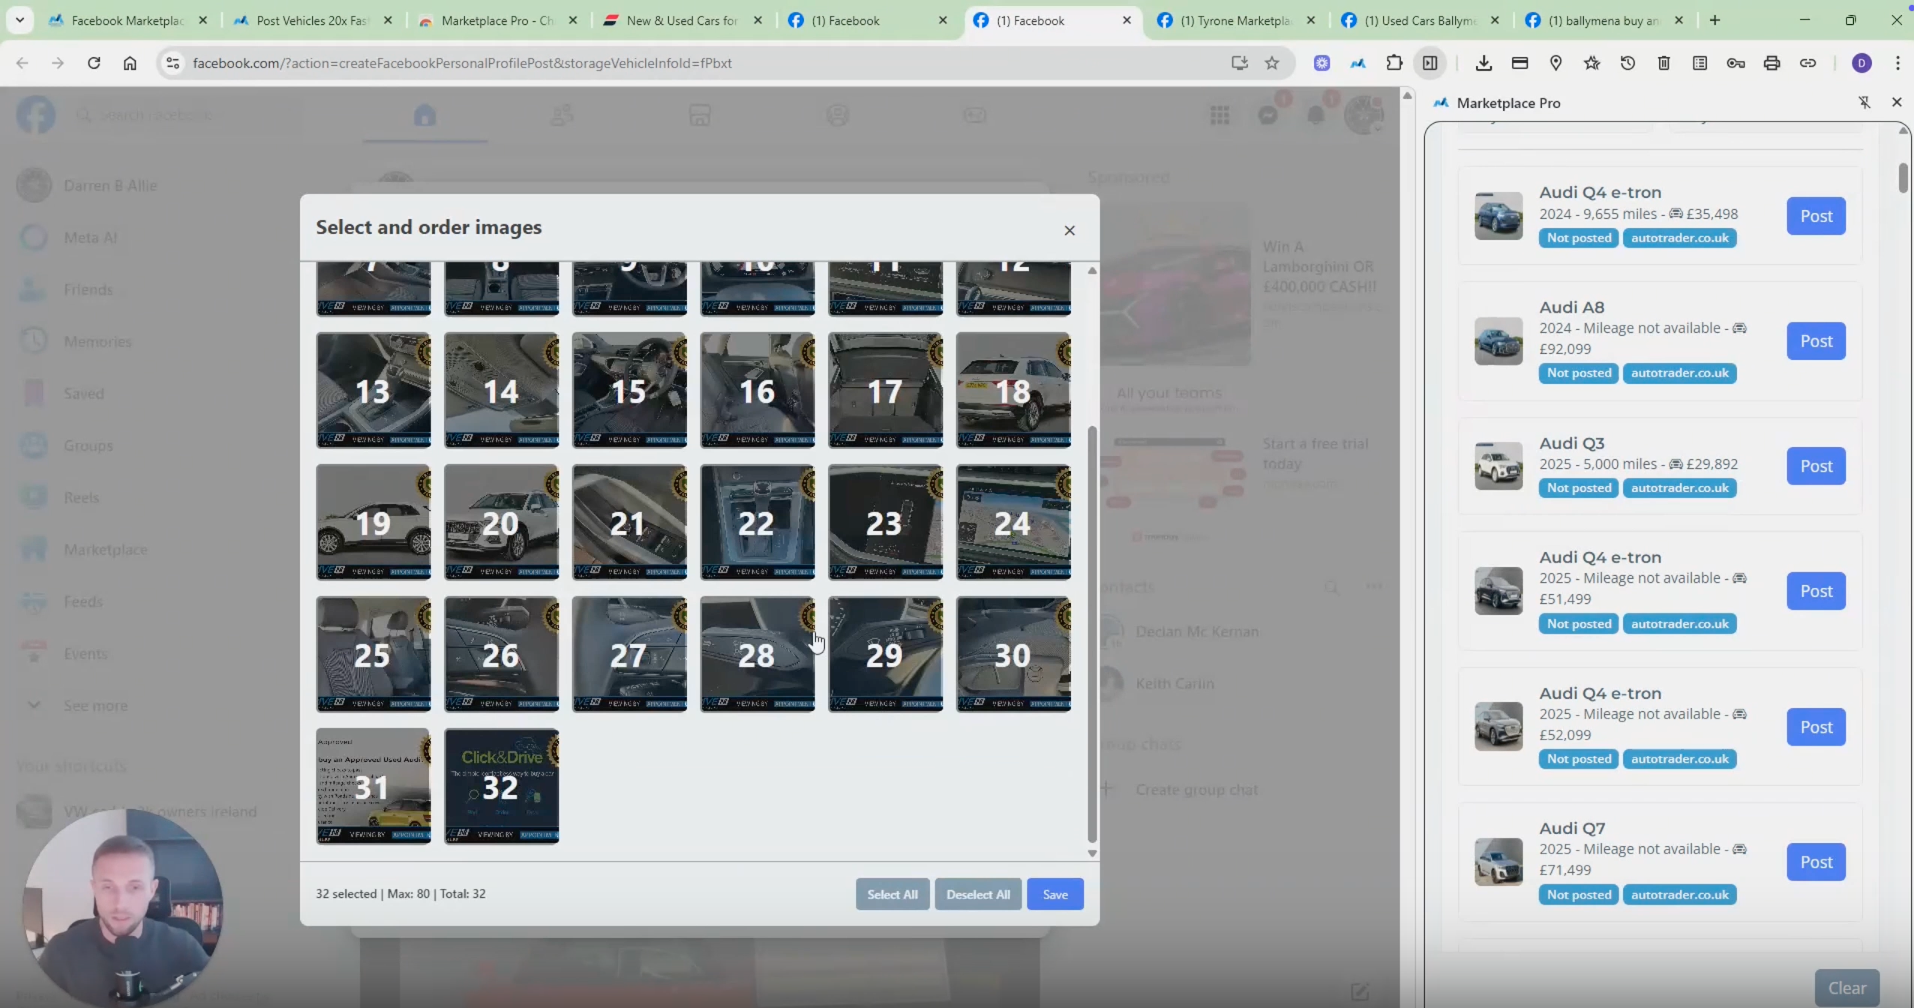
Choose up to 20 pictures for your listing.
Adjust picture order as needed.
Step 16: Tracking Your Inventory (7:08)
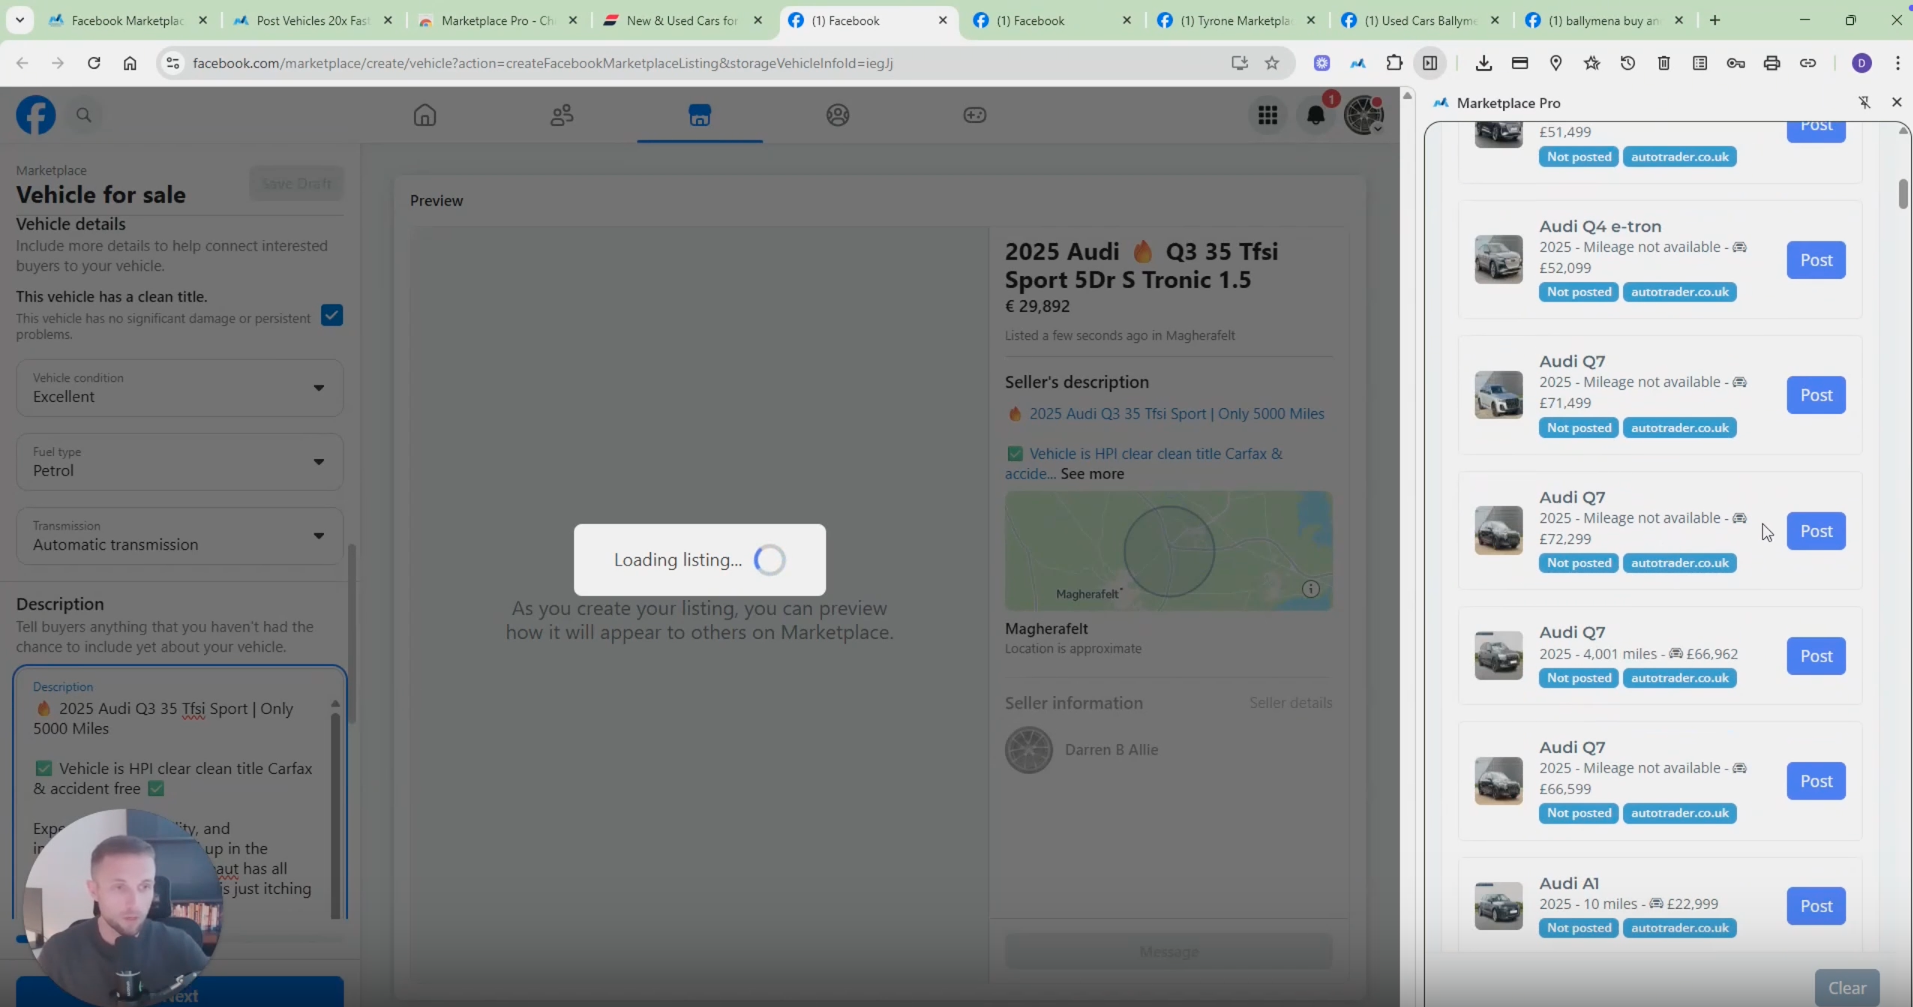
Use the tool to keep track of posted vehicles, price changes, and statuses.
Step 17: Posting Guidelines (8:13)
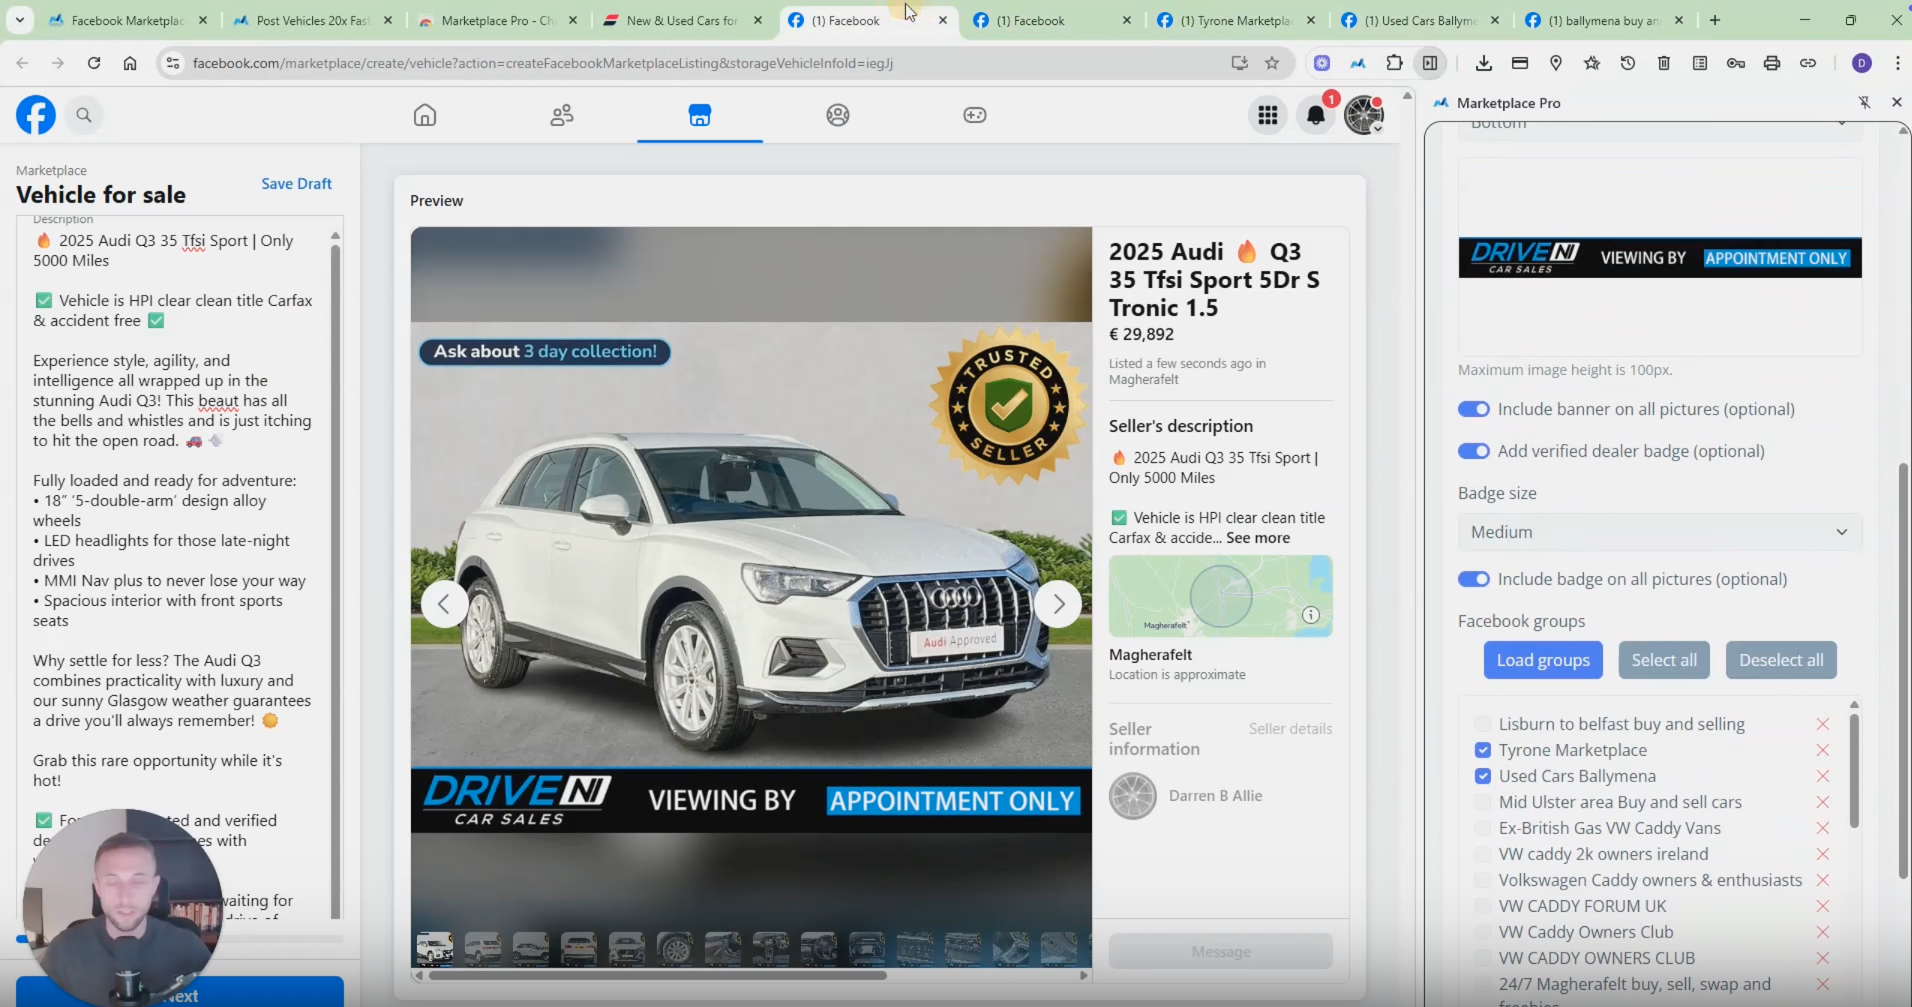
Limit to 15 vehicle posts per day to avoid being flagged as a scammer.
Spread postings throughout the day.
Step 18: Additional Resources (9:02)
For in-depth guides, access the Marketplace Mastery course on the Members Pro platform.
Step 19: Getting Help (9:55)
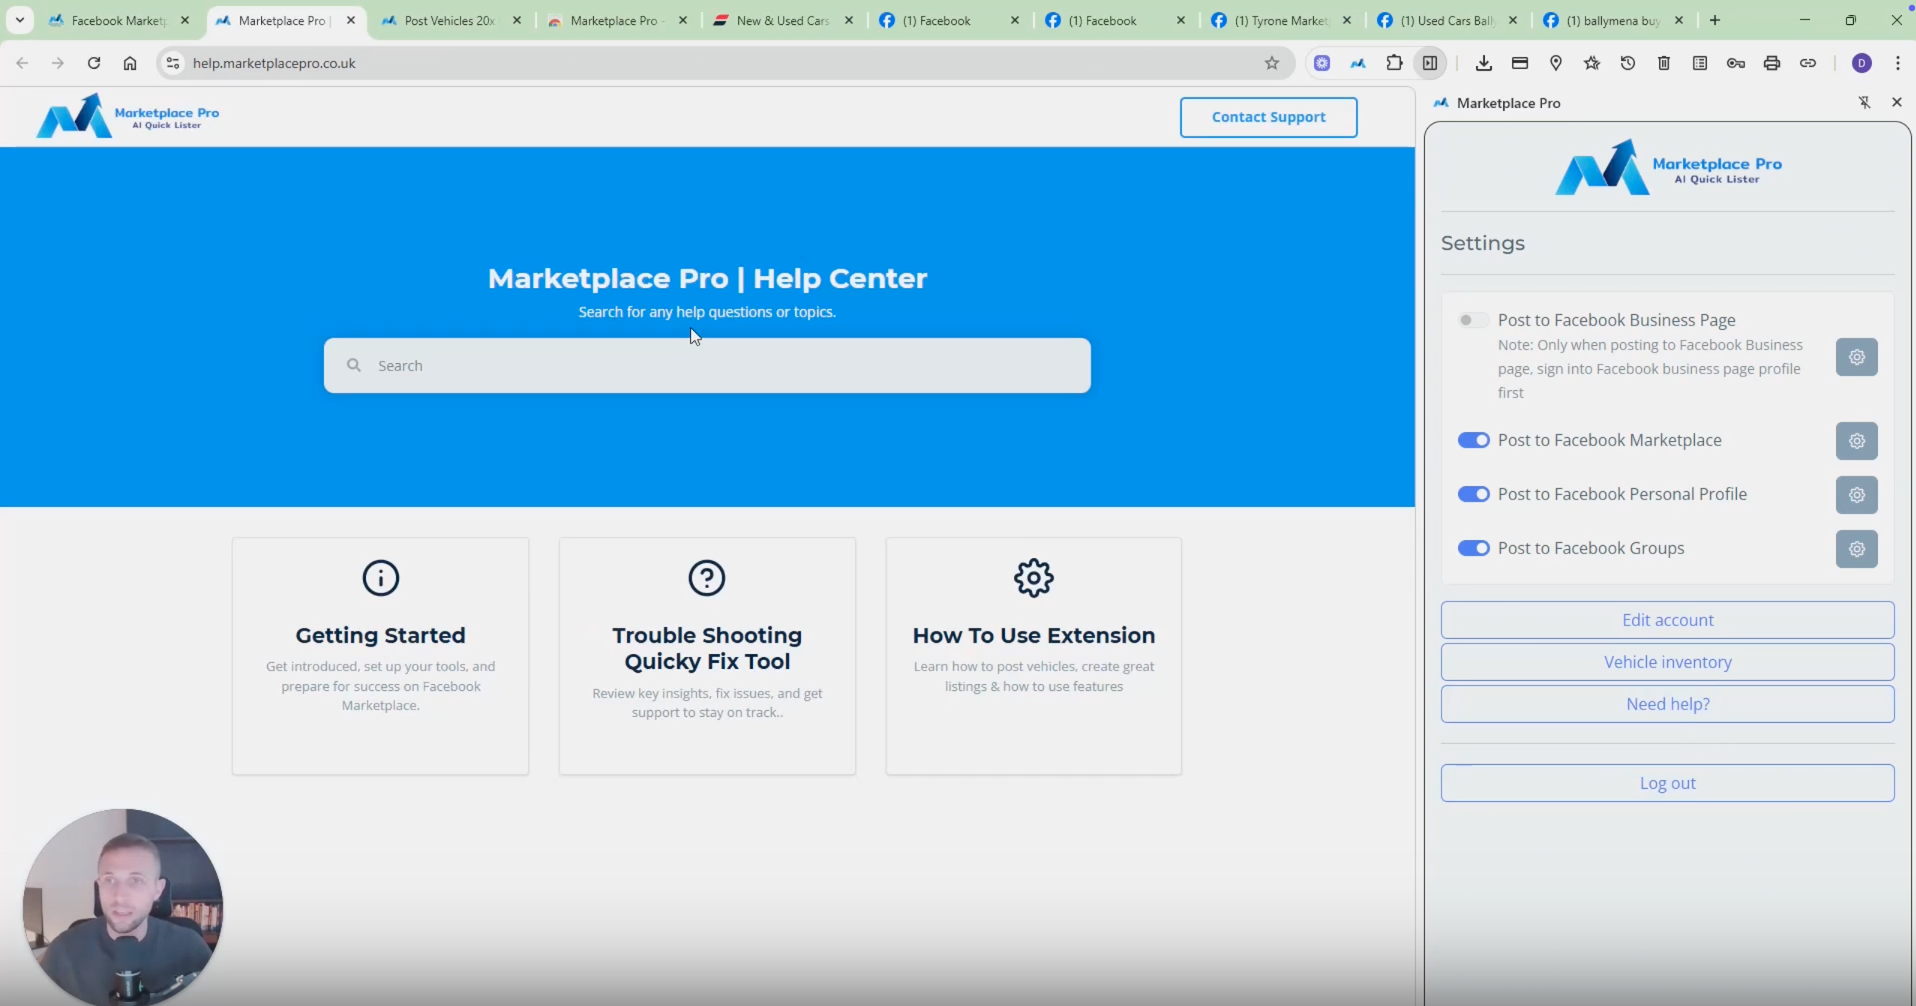
For in-depth guides, access the Marketplace Mastery course on the Members Pro platform.
Step 20: Conclusion (10:14)
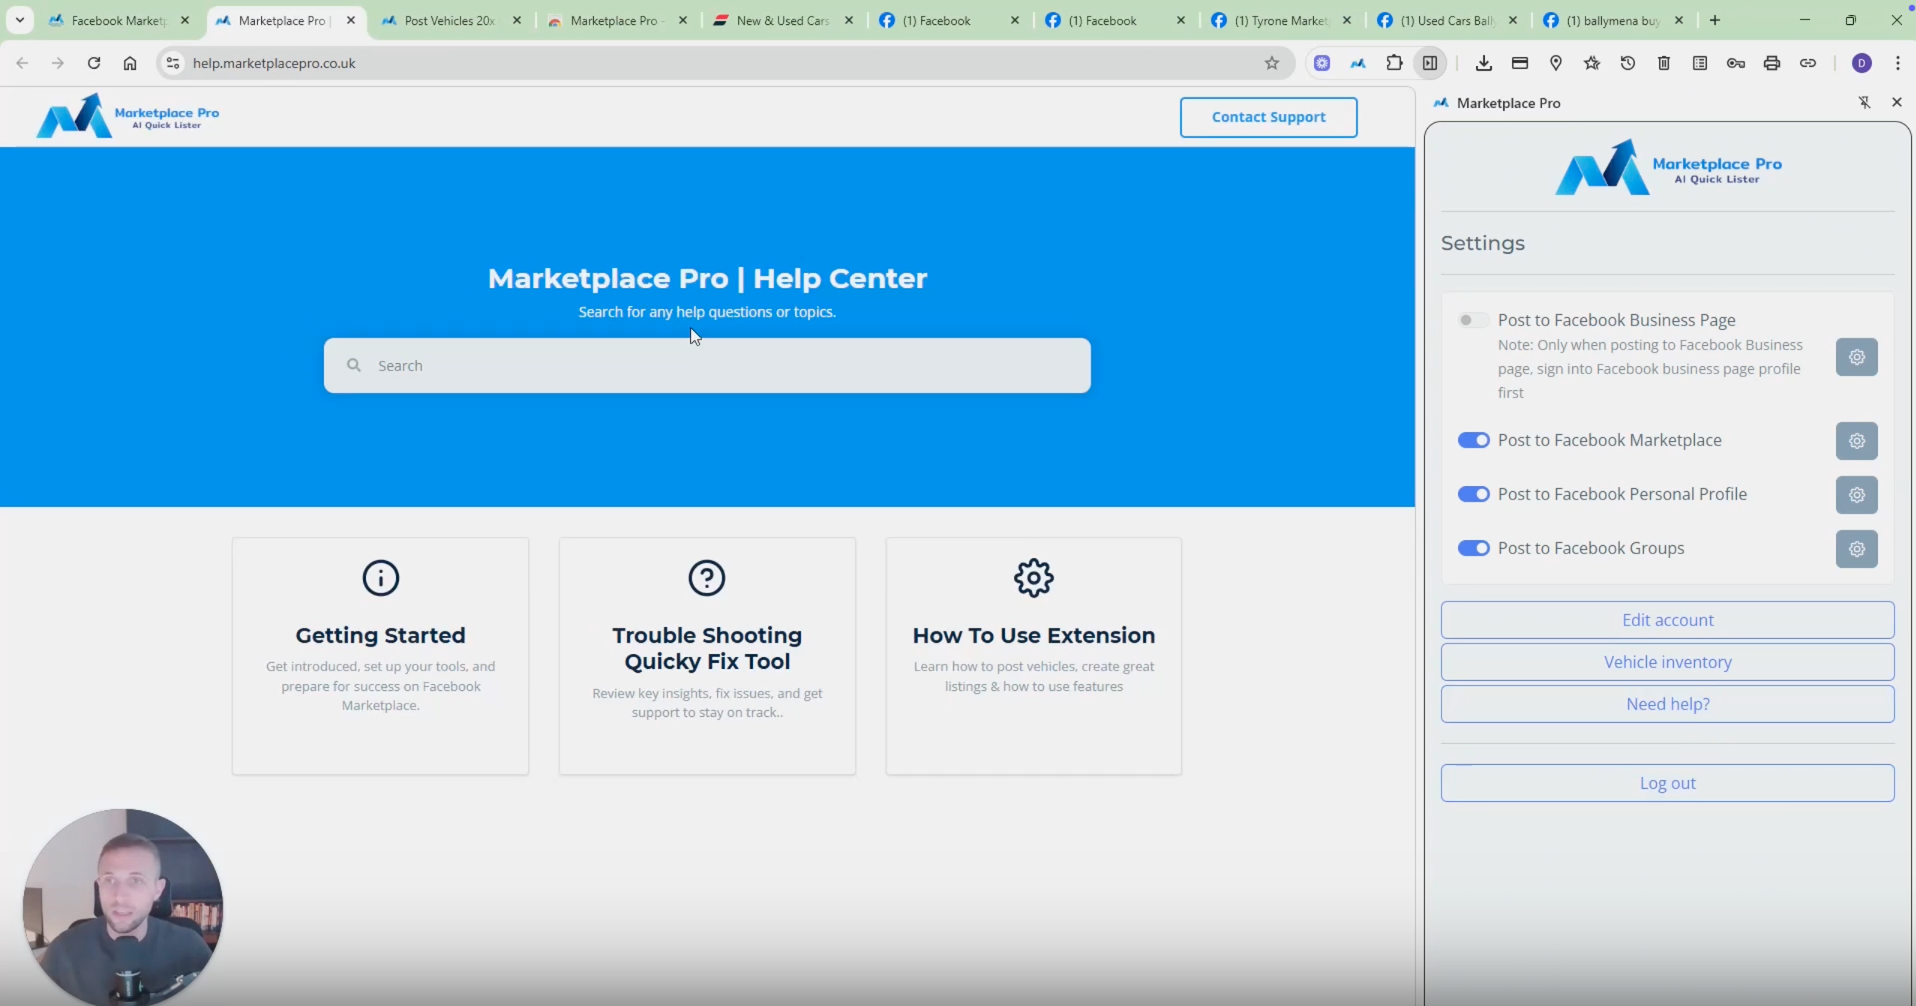
Encouragement to start posting vehicles and gain momentum.